There is no doubt that Godaddy releases the cheapest deals for domain names and hosting when their specials are on.It can get as low as $.099 cents for a domain name and $1 for a hosting plan- Often with a free domain name.
Your would wonder how they make the money?
Most people who buy hosting or domain name stay with their provider for a couple of years if not forever. Most special offers are special only as an introductory offer and renew at normal rates after that. so the company makes back its money over the longer term.
Not that I have told you how it all works, lets get on with making our website with GODADDY!
What you do first!
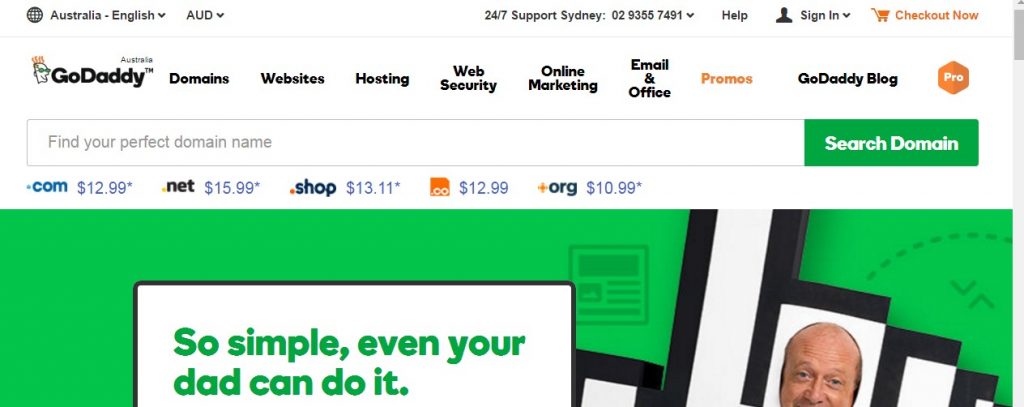
Go to the Godaddy website here via this link to claim your $1 hosting deal promo Offer.
You will be able to purchase your hosting account to get your blog installed and started.
They will ask you what Free domain name you want (with the current free domain offer) when you purchase your hosting plan. Type in your chosen domain name and provide your trusted email address. They will also ask you for a login name and password in this process.
I am not going to give you the pros and cons for godaddy or write a detailed review here. If you are choosing godaddy, it is probably because you are taking advantage of one of their special offers or you just want to get started on a budget for now.
You can always upgrade your plan when you are ready or even move to another preferred host int he future,when you can afford premium hosting plans
Now you are ready to start building your blog!
Follow the step by step Picture tutorial below
So once you have purchased hosting and set up your new account, you will receive an email with details of your purchase .
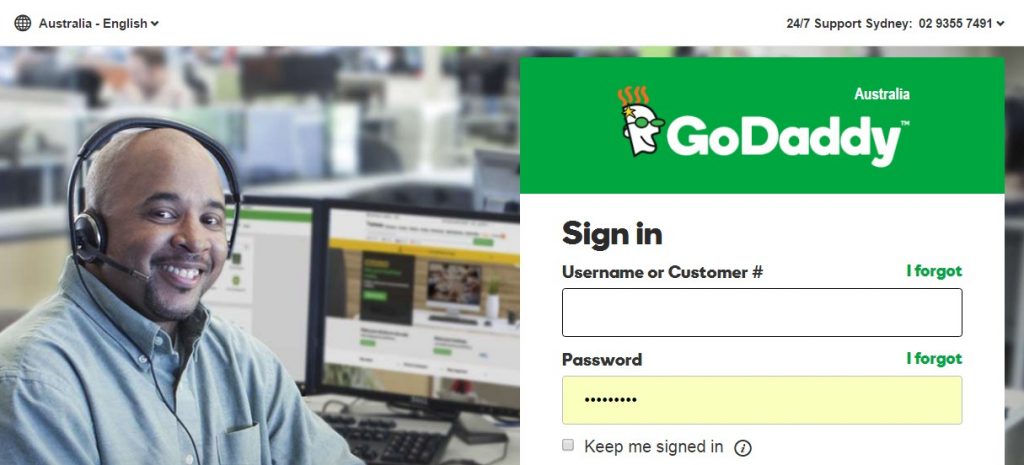
Now head to the www.godaddy.com website and login to the admin areas with your login details.
- Login with password and a/c number OR username
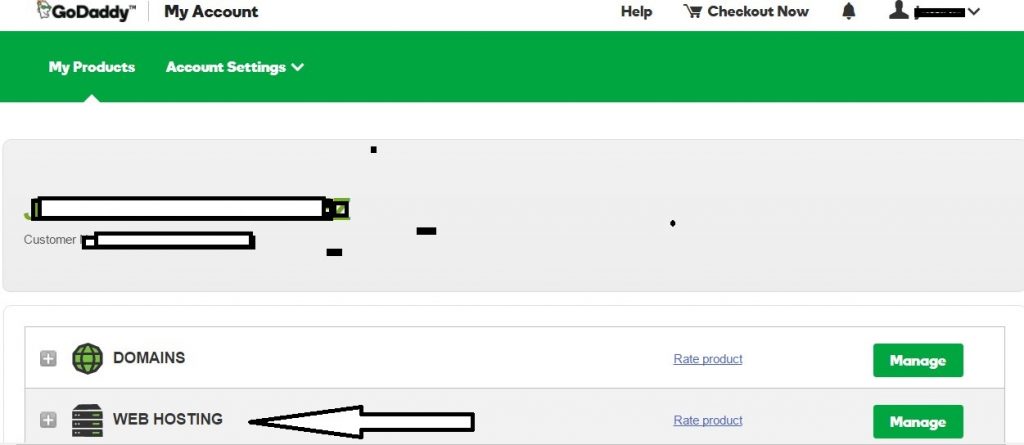
- Click on Webhosting
- Click on manage – Linux hosting with cPanel
You will come to this screen below/ scroll down
(From here on its easy – just find wordpress and click to install it!)
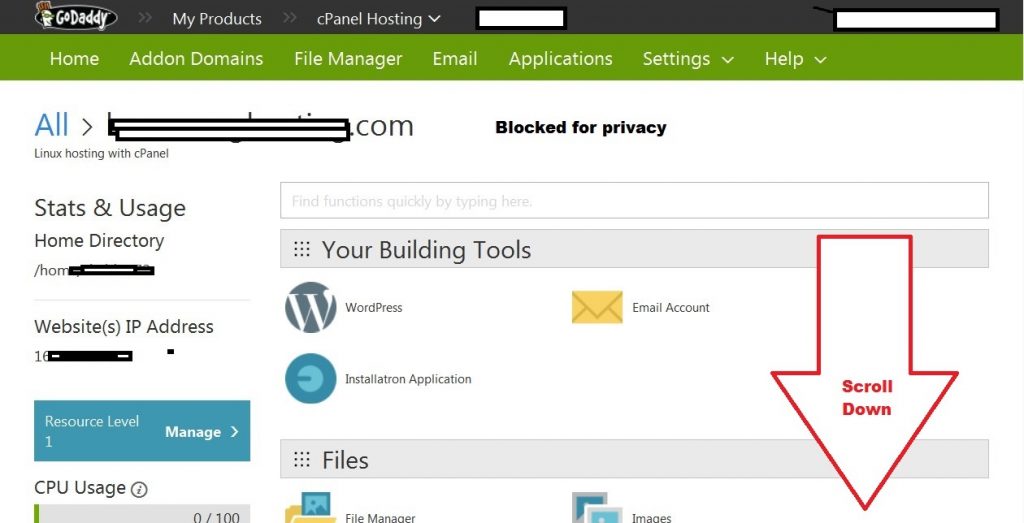
- Click Manage then
Scroll down to Web applications + click on WordPress
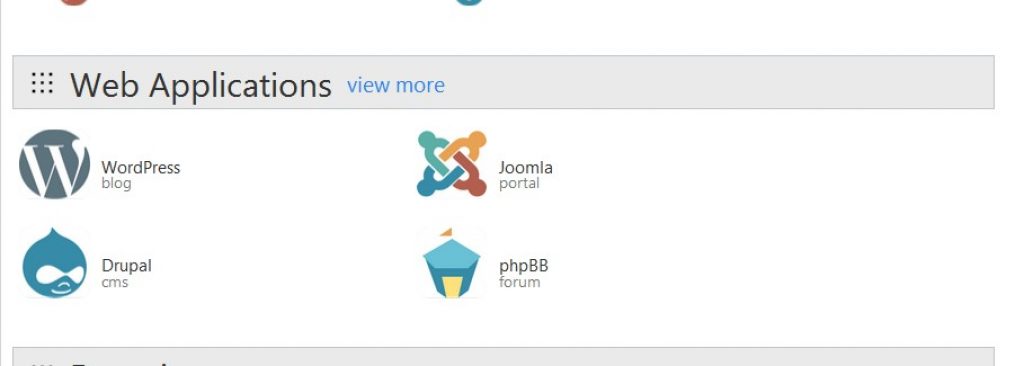
- You will get this screen
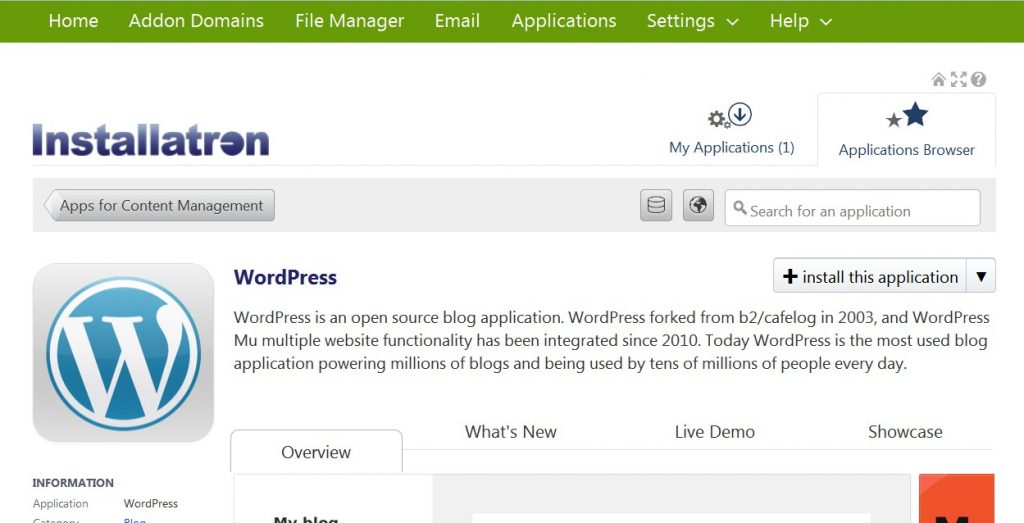
Now, You will go the final screen where you choose your domain name / input domain name – record or input new admin login and password and write this down , A lot will be auto filled , but just note down your login and password an make sure email shown is right and click install at bottom.
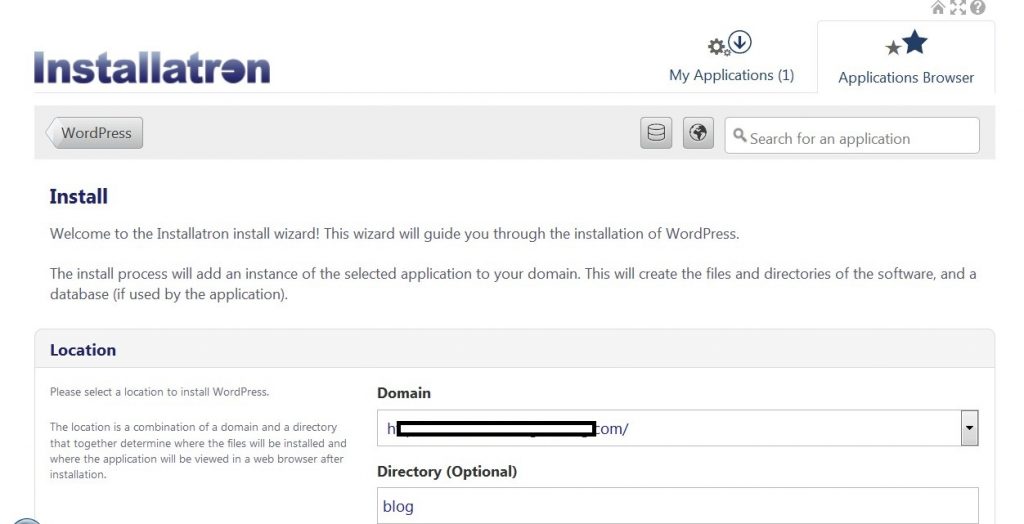
- Click install to install
 Now your blog will be installed in minutes and you will get a email sent to you, with your admin login url to start publishing
All done! – Start writing for your blog and then take your time to add nee plugins for SEO or change Free WP themes froma dmin area to suit your design of your blog. Good Luck!!
